How To Clean Deer Antlers Before Mounting
Share
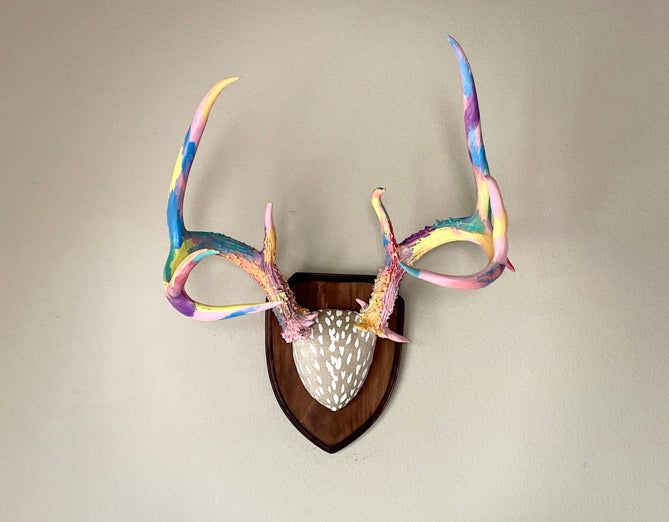
Welcome to the world of deer antler mounting, where we take maximalist home decor to a whole new level! If you've ever come across a set of magnificent whitetail deer antlers and thought, "Wow, those would make a show-stopping statement piece," then you've come to the right place.
But before you go hanging those antlers on your wall, there are a few important steps to ensure they are clean, hygienic, and ready for their moment in the spotlight. ATX Antlers is here to guide you through the process so that your mounted antlers can be admired by all without any unpleasant surprises.
So grab your gloves and get ready to clean that (soon to be glamorous) rack.
Antlers start off as living tissue, growing 1/2” - 1 1/2” per day and then turn into something more like a bone. The antlers grow out of the skull and become attached to the bone. When the antlers are cut off, they are removed by sawing through the portion of the skull they are attached to, coming off as a single unit. This portion of the skull is referred to as the skull cap. Whether the antlers are to be mounted alone or on a full head mount, the cap must be cleaned of all flesh and dried to keep it from smelling and decaying.
Use a saw to cut the skull plate away from the skull. You will want to cut it at angle depending on how you plan to display it.
Remove any skin that is still attached to the skull cap. Pull the skin up, starting at one end, and cut it free by slicing through the membrane.
Next, boil the skull plate and remove all tissue and hair so you won’t attract bugs. Do not have the water level higher than the antler base as it could discolor the antlers.
Then use a flat-tip screwdriver to pry the skin away from the antler base and then a nylon brush to help in removing flesh and hair.
Lastly, I like to place the skull plate in Borax for about a week after boiling and after it has dried, to help preserve it a little more.
Now your antlers are ready for creating. The sky’s the limit!
